
plates
How to Add Color to Your China Cabinet (without spending a fortune)

http://dedivahdeals.com/2014/04/04/weekend-wind-party-2/
My china cabinet was not much to look at, even if it is from IKEA Craig’s List. Have I mentioned I am 5 hours from Ikea, no matter which direction I go? Yes. Sad but true. I do shop at IKEA every chance I get though. On one particular road trip, Mr. Matrimony even planned a stop at a hotel next door to an IKEA. I’m fairly certain his motivation was the food court first, and my joy second. No matter… he’s still a keeper ❤

Anyways, on our local Craig’s List, I found a white bookcase with glass doors from IKEA. The people who were selling it had added 3 light fixtures to the underside of 3 of the shelves. I knew a little black spray paint would transform it into something that would look like it somewhat matched my dining room furniture. That is sort of a bonus of having mis-matched furniture… everything matches. By-the-way, I thought I was saving time and money by not painting the inside portions of the doors. As it turns out, the interior frames of the doors are quite visible from the exterior. That part really has nothing to do with this post, but I thought you should know so you won’t do that.
You’re welcome.
Now, as much as my mis-matched cabinet matched my mis-matched dining room furniture, it still looked boring. Aside from Christmas dishes and a few little clearance bowls from Apothecary, our dishes are very plain. As it is, even the Christmas dishes don’t match even in the mis-matchy way for about 11 months out of the year. In fact, leaving them in the cabinet just makes me look lazy(er). Still, I am not one for packing them and unpacking them every year, and traipsing with them down into the dungeon basement for storing. So in the cabinet they stay. Here’s what we had to start with…

Not only is it boring, it is not one bit organized. That’s how I first came up with this idea. All I was going to do was sort out the mess, purge a few items, do some dusting, and pile things back in with some sense of organization. Somewhere on the way to the dining room, I passed a turquoise lid from a spray paint can. You probably figured at this point that I’m not too good at putting things away. To some, that is called “disorganized” and “messy”. With experience, I have learned to call it “inspirational”. The truth is, I probably was inspired along the way of painting something turquoise when I got distracted by something else, causing me to leave the turquoise spray paint can somewhere. At least now I know where the lid is, so I can replace it. I’ll find the can some other time when I’m distracted inspired.
Annnnnnny way…
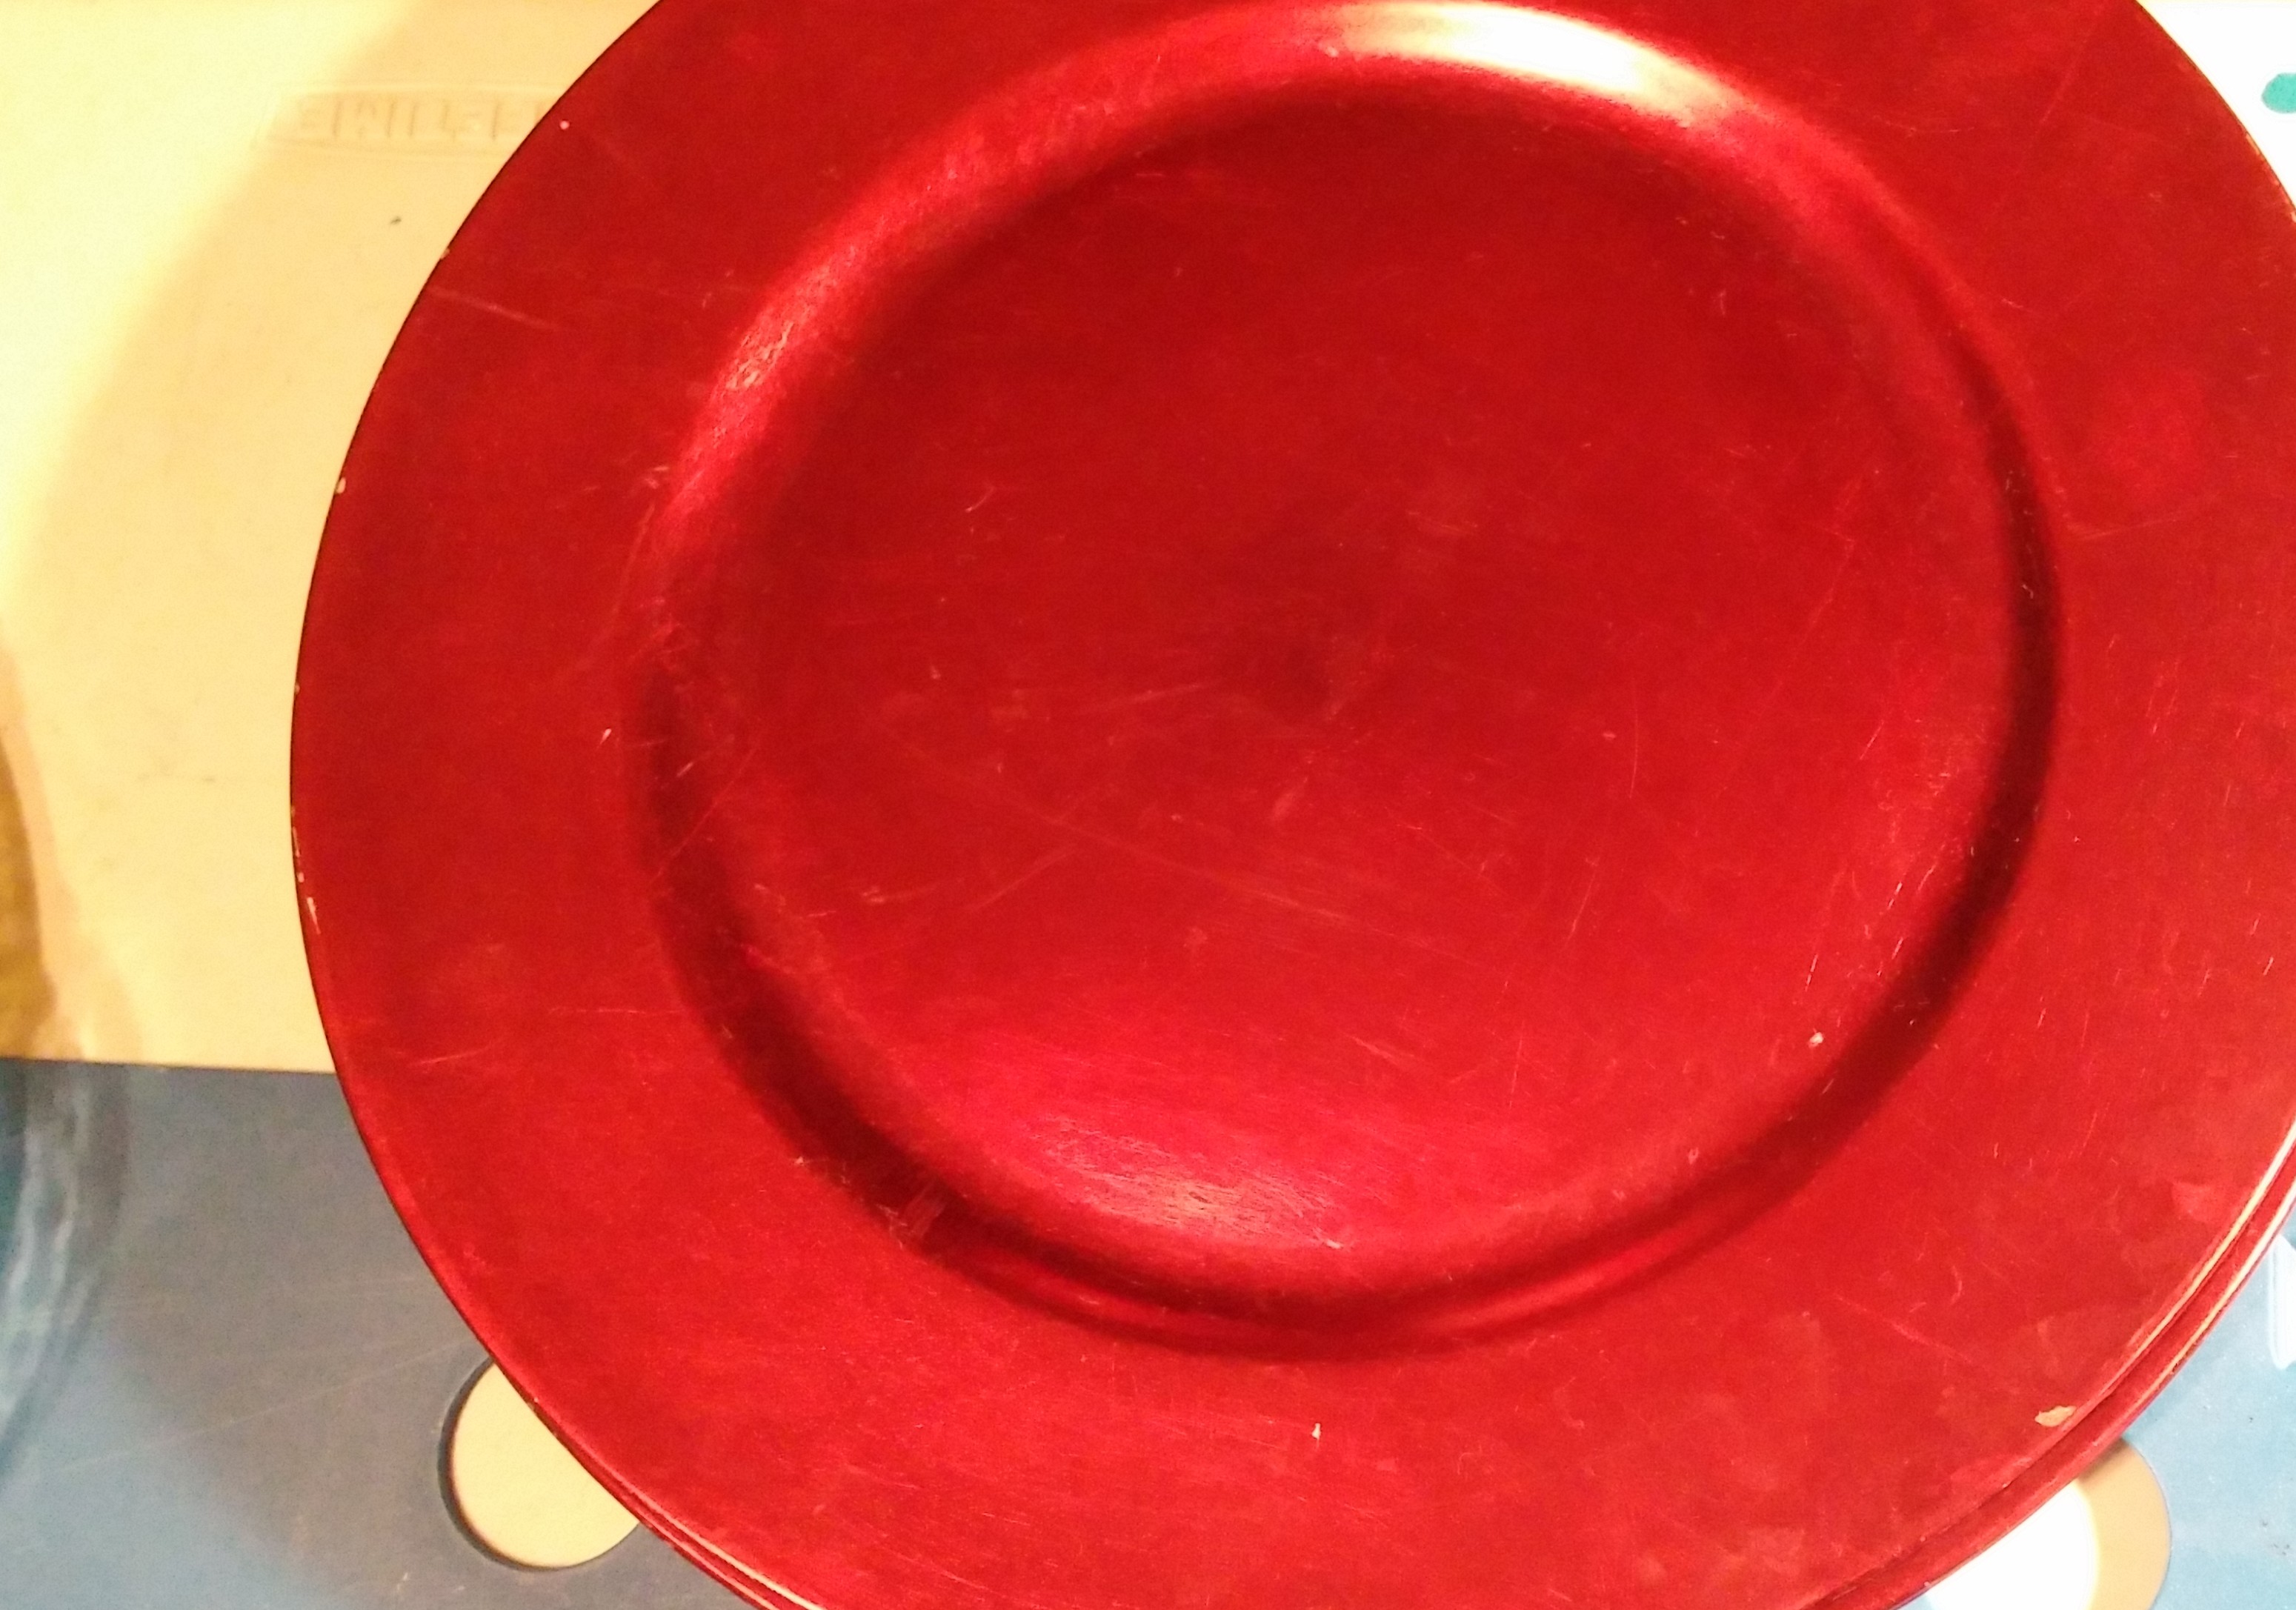
I’ve long wanted to put wall paper on the back inside wall of a cabinet. This one would be ideal for that, if I could get my hands on some worthy wall paper. Until that time, I came up with a clever idea to add color to my boring china cabinet. I painted several chargers (Those big ole plastic plates that go under your place settings. They are often gold leafed. We use them in lieu of place mats.) I found on clearance after Christmas at Wal-Mart. They were only .05 cents each! Here’s a picture of one of them “before”….
I did different colors thinking I would choose which ones I liked best. Surprise! I liked them all. So they all stayed the colors I tested them with. I had a few of those raised plate stands that I painted to match. The cloche I made went in as well (You can find out more about that by using this link… https://dumpsterdivingdarling.wordpress.com/2014/02/08/d-i-y-cloche-stand-from-thrift-store-finds/ ). A pie display (some may think of it as a plate display) I found at the thrift store and a bowl stack rack from World Market (clearance, of course) were also painted to match. As it turned out, I really only purged about 5 things. More than that amount was actually added. Organizing and sorting actually created a lot of room. The Christmas dishes even stayed! Those are what I started with. I put the Christmas plates on the bottom shelf, evened out on either side. Then I placed one plain white plate on top of each stack. Here’s how that looks….


Next, I placed my white dishes (my main color) and the turquoise (my strongest accent color). That was my foundation. Here’s how it turned out….

Here’s the tray (a buck from the thrift store) before I painted it….

Next, I just started placing the other plates and main pieces. As I did so, I moved around the foundation pieces as needed. I even remembered to take a “during” picture this time… YAY me!!!

Finally, I added the finishing pieces. This step includes all the little random shots of color. Color is my friend, so it may be a little surprising we have white dishes. Don’t fret… our everyday dishes are sort of a neon green 😉 If colors “popped” a little too much (like red or bright blue), I placed them with some of the primary (white, turquoise, and yellow) shades of my color palette for this project. Here are some pictures of the different vignettes I placed in the cabinet as the final layer….


Here’s the finished project….

Don’t have a china cabinet? We didn’t for quite awhile. Before we purchases this one from IKEA Craig’s List, we used a plain ol’ black fake wood bookcase from Wal-Mart, for years! I think they are like 30 bucks. Maybe even 20… it’s really fake wood, lol 😀 It looked great though. The only problem is dust. You neat people have nothing to worry about there though. But even I made it through the dusty china “cabinet” years.
On Friday evenings I enjoy The Weekend Wind-Down Party at http://dedivahdeals.com/2014/04/04/weekend-wind-party-2/
There are so many great ideas there! Please take a few moments to check it out.
Thanks!
